Bulk uploading or adding many users at once rather than doing it manually one at a time is possible in the system. You must be a super admin, admin, or manager to bulk upload. However, you need to consider several things in order to do this.
Limitations of OnePassport Bulk Uploading
-
You can only upload a certain number of people from across your organisation depending on the subscription plan you have availed. For example, you have chosen the Medium plan which limits the number of users to 99. You cannot upload more than this number in this case. However, should you wish to add more people, you can upgrade your plan.
-
A maximum of 1000 records can be uploaded at any one time. Therefore, if you've got more than 1000 to upload, you need to create separate files for each batch and upload them one after another.
-
The onboarding feature of the system only checks the first sheet on the excel file. Multiple sheets will be ignored.
Creating your Spreadsheet
Prepare your spreadsheet ensuring that the template for Staff Bulk Upload is followed. Confirm that the top line of the spreadsheet has the titles of the fields you want to be included. The system has the default fields for the labels as presented in the template. The headings shaded in red are considered to be important fields, hence, must be completed. Note that the required fields are: First name, Last name, Email, DOB, Mobile number, Job role, Employment type, Join date, Address Line 1, Town/Suburb, State, Post Code, and Country. The rest are optional (Gender, Work Category and Employee ID from the sample below). However, Gender is required when accessing AIR (Australian Immunisation Register) so it is also recommended to provide this one.
Person Type/Department is essential if you have categorised your people based on this. So, to ensure they go to the right department, provide this information in the sheet.
Here is a sample of a file that you can upload.
Download an Onboarding Template at the bottom of this page.
Here are some important things to keep in mind when creating your spreadsheet:
- Though the system is still accepting the 01/02/1990 (dd/mm/yyyy) format, preferably use the format DD MMM YYYY for the date of birth.
- Fill the Job role and employment type columns with the values applicable in your organisation and have been set up in your Comply.
- The system is accepting the format 456788908 for mobile/phone numbers.
- Department is equivalent to the Person Type (people categorisation) in OnePassport System.
- Should you have spaces for the mobile numbers like 0420 678 910, remove them by:
- Highlighting the column for mobile number
- Press ctrl F. A dialogue box will appear as:
In the Find What field, just put a space. Then click Replace Tab (just leave it blank). Click Replace All.
Here is a video on how to do the process.
Bulk Uploading Step-by-Step instructions:
Step 1: Log in to your account. You will be redirected to the dashboard.
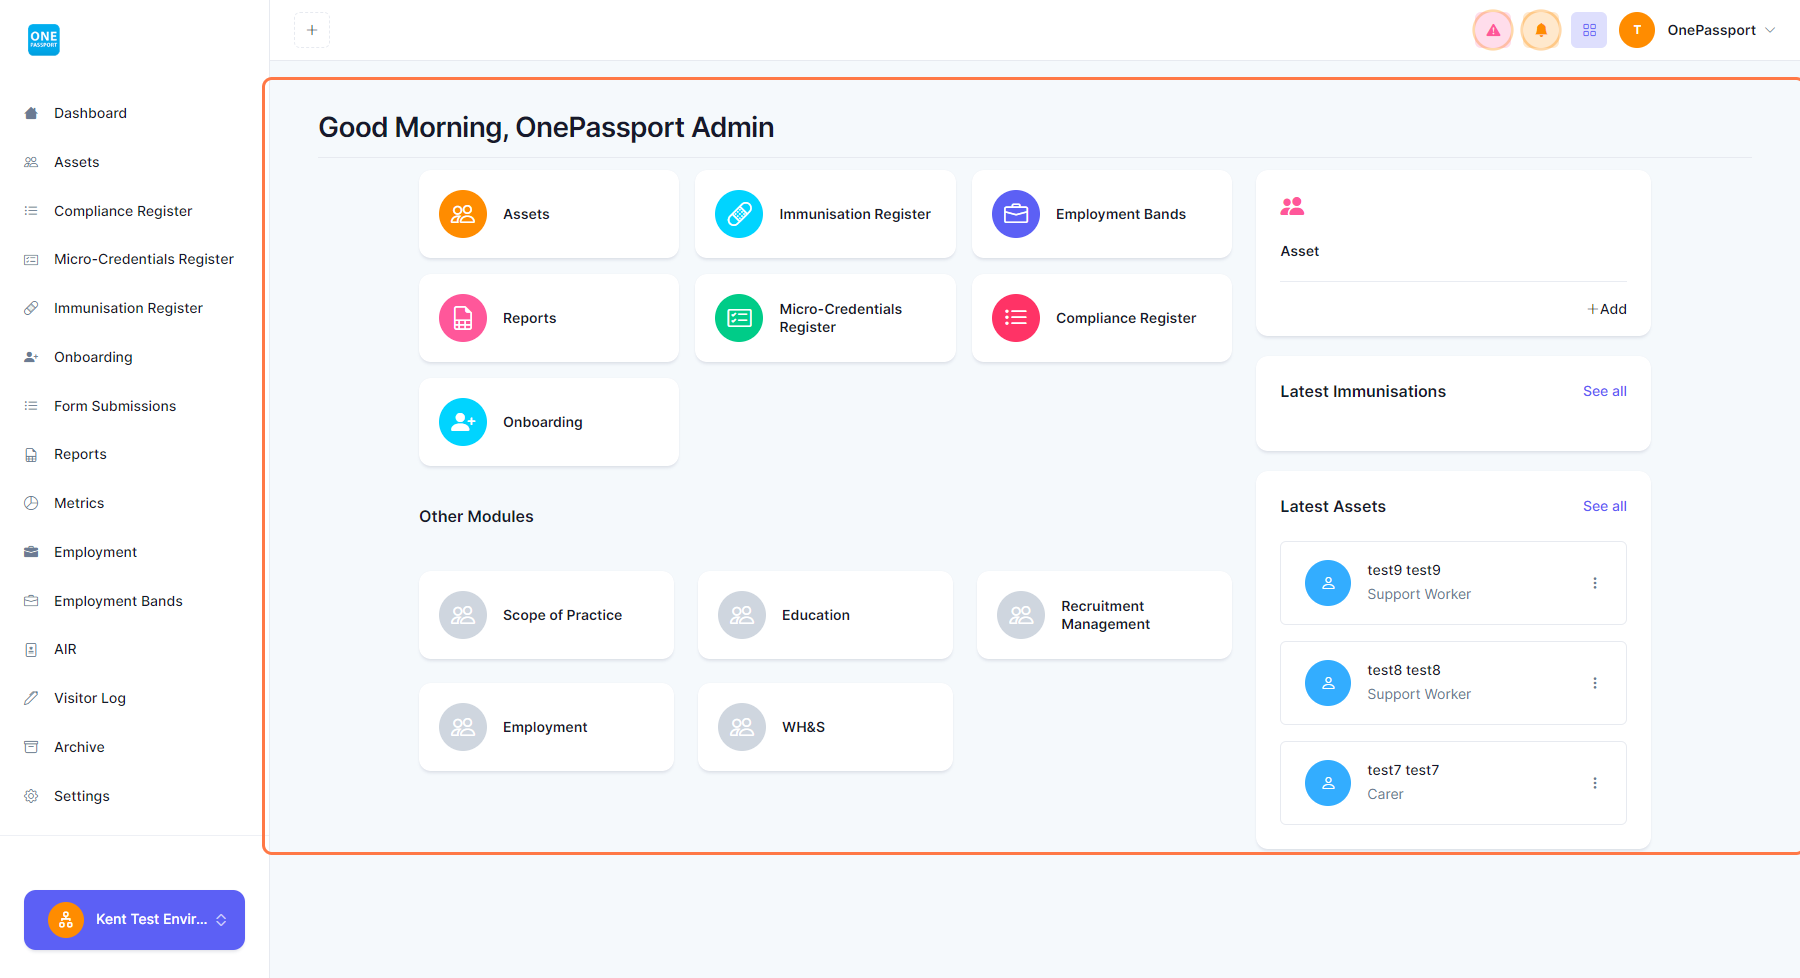
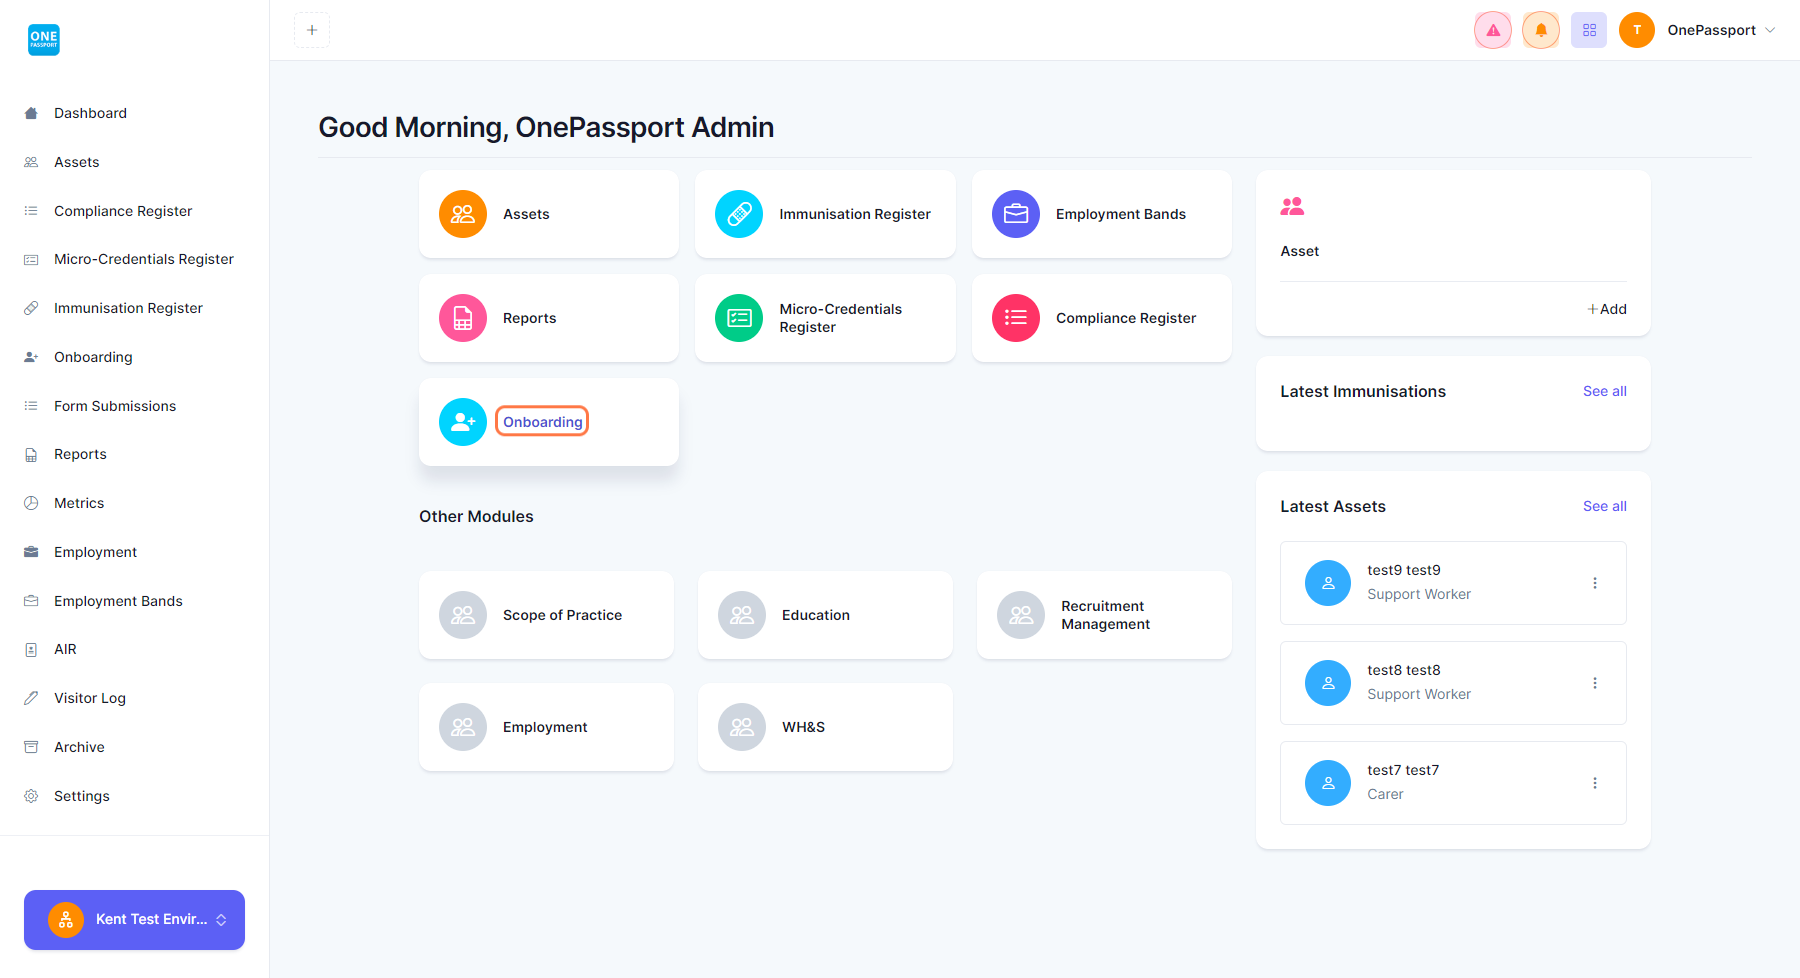
Step 2: Click on Onboarding from Dashboard or sidebar.
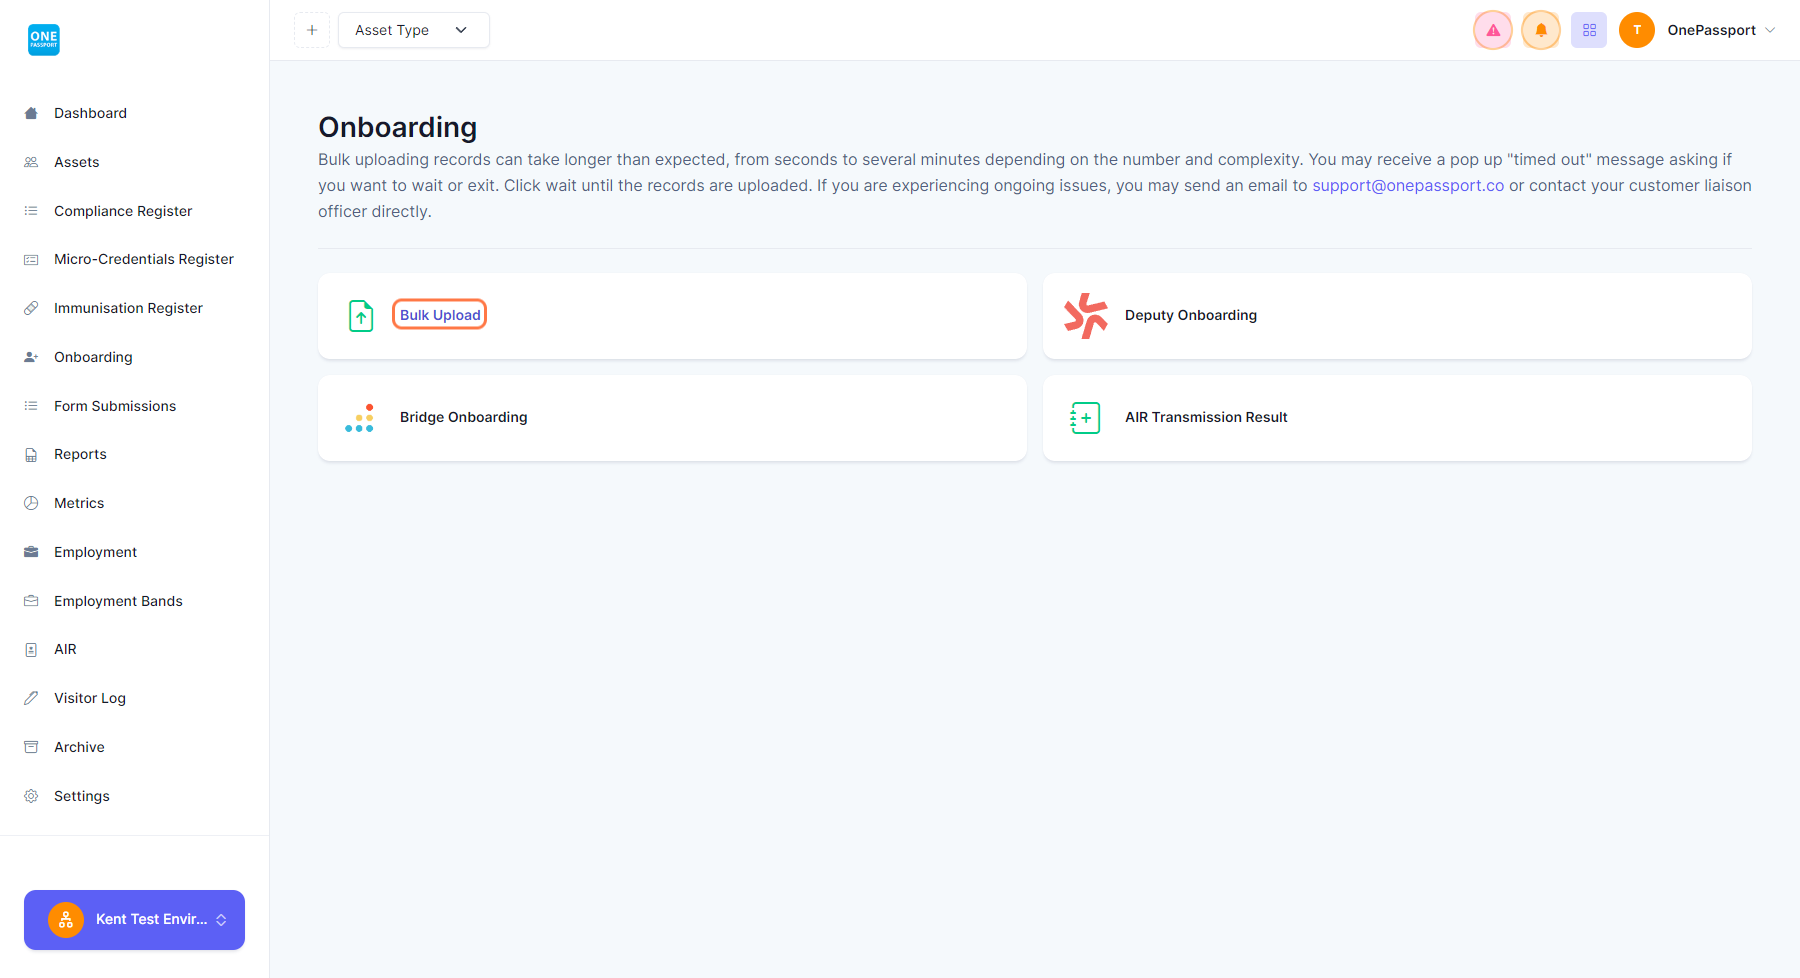
Step 4: The page will redirect you to a page like below.
By default, it is selecting Onboarding Bulk Upload.

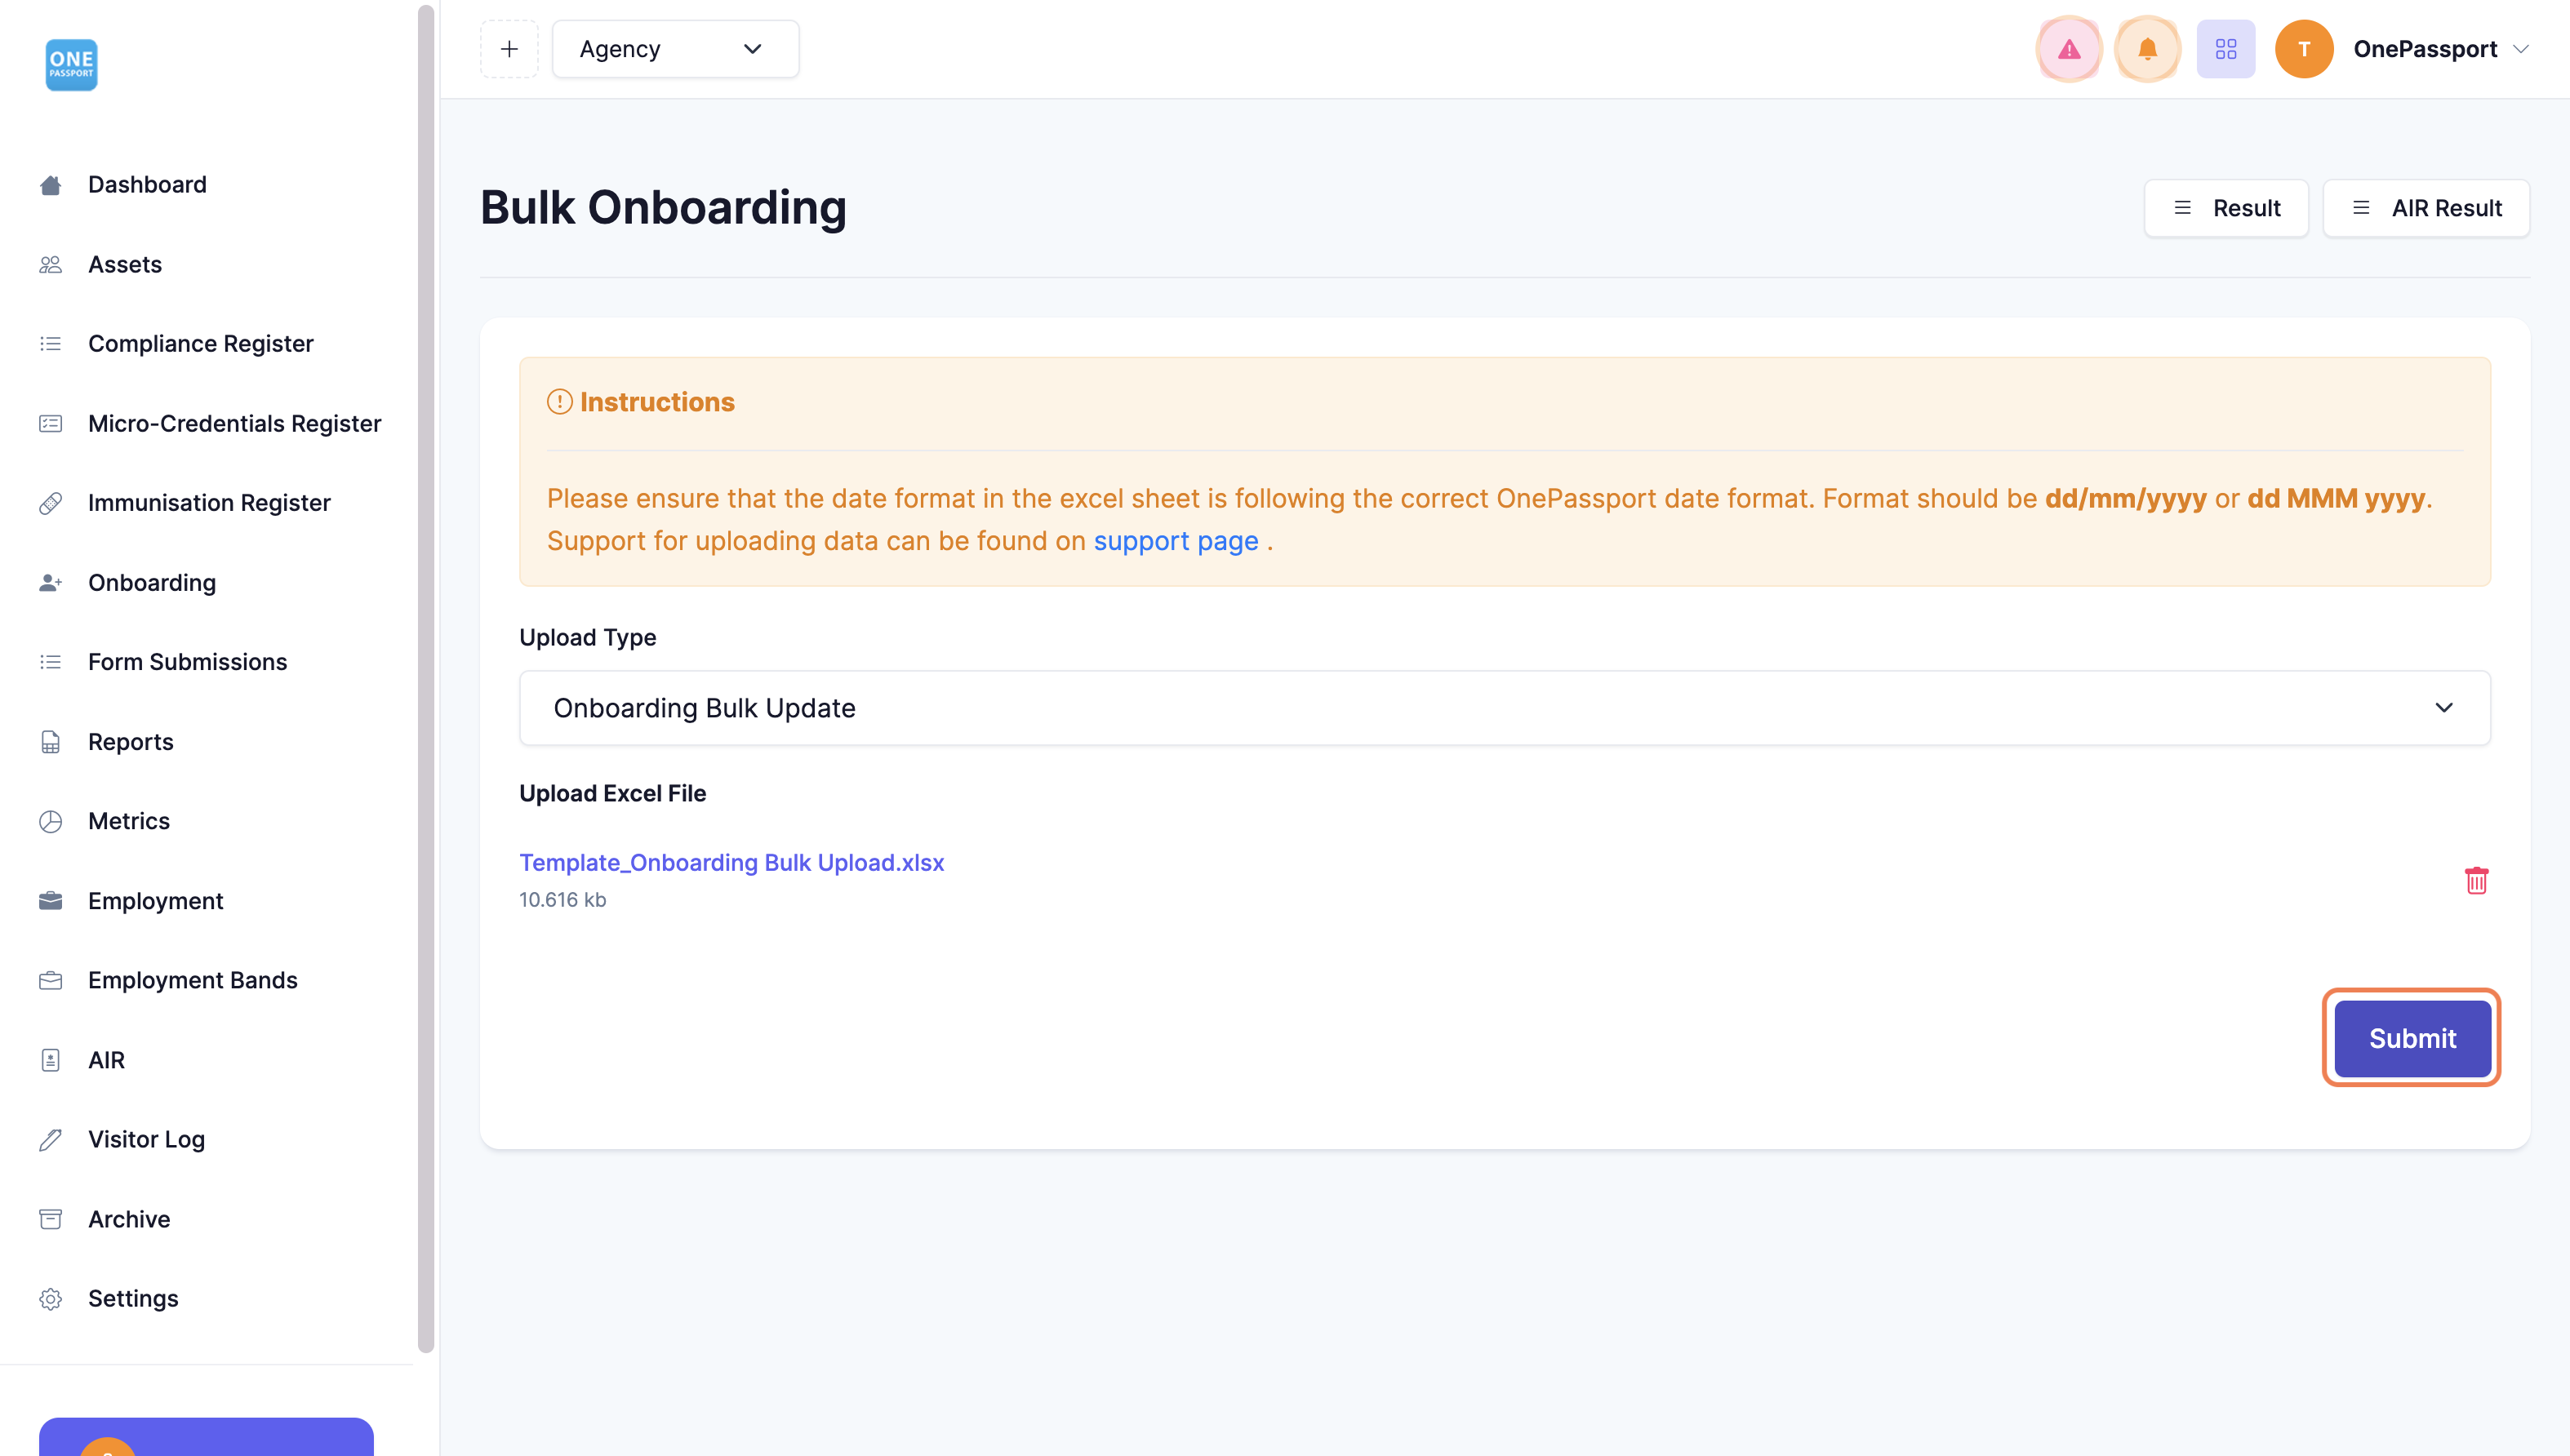
Work your way down the list mapping the fields that pull information from Excel to the OnePassport system.
Note that the required fields are: First name, Last name, Email, DOB, Mobile number, Job role, Employment type, Join date, Address Line 1, Town/Suburb, State, Post Code, and Country. You cannot proceed to the next step if you cannot select and map these required fields. The system will notify you of the failed mapping.
*The Department from your sheet is equivalent to Person Type in the matching process.

*Once you have matched the fields click upload and the import will commence.
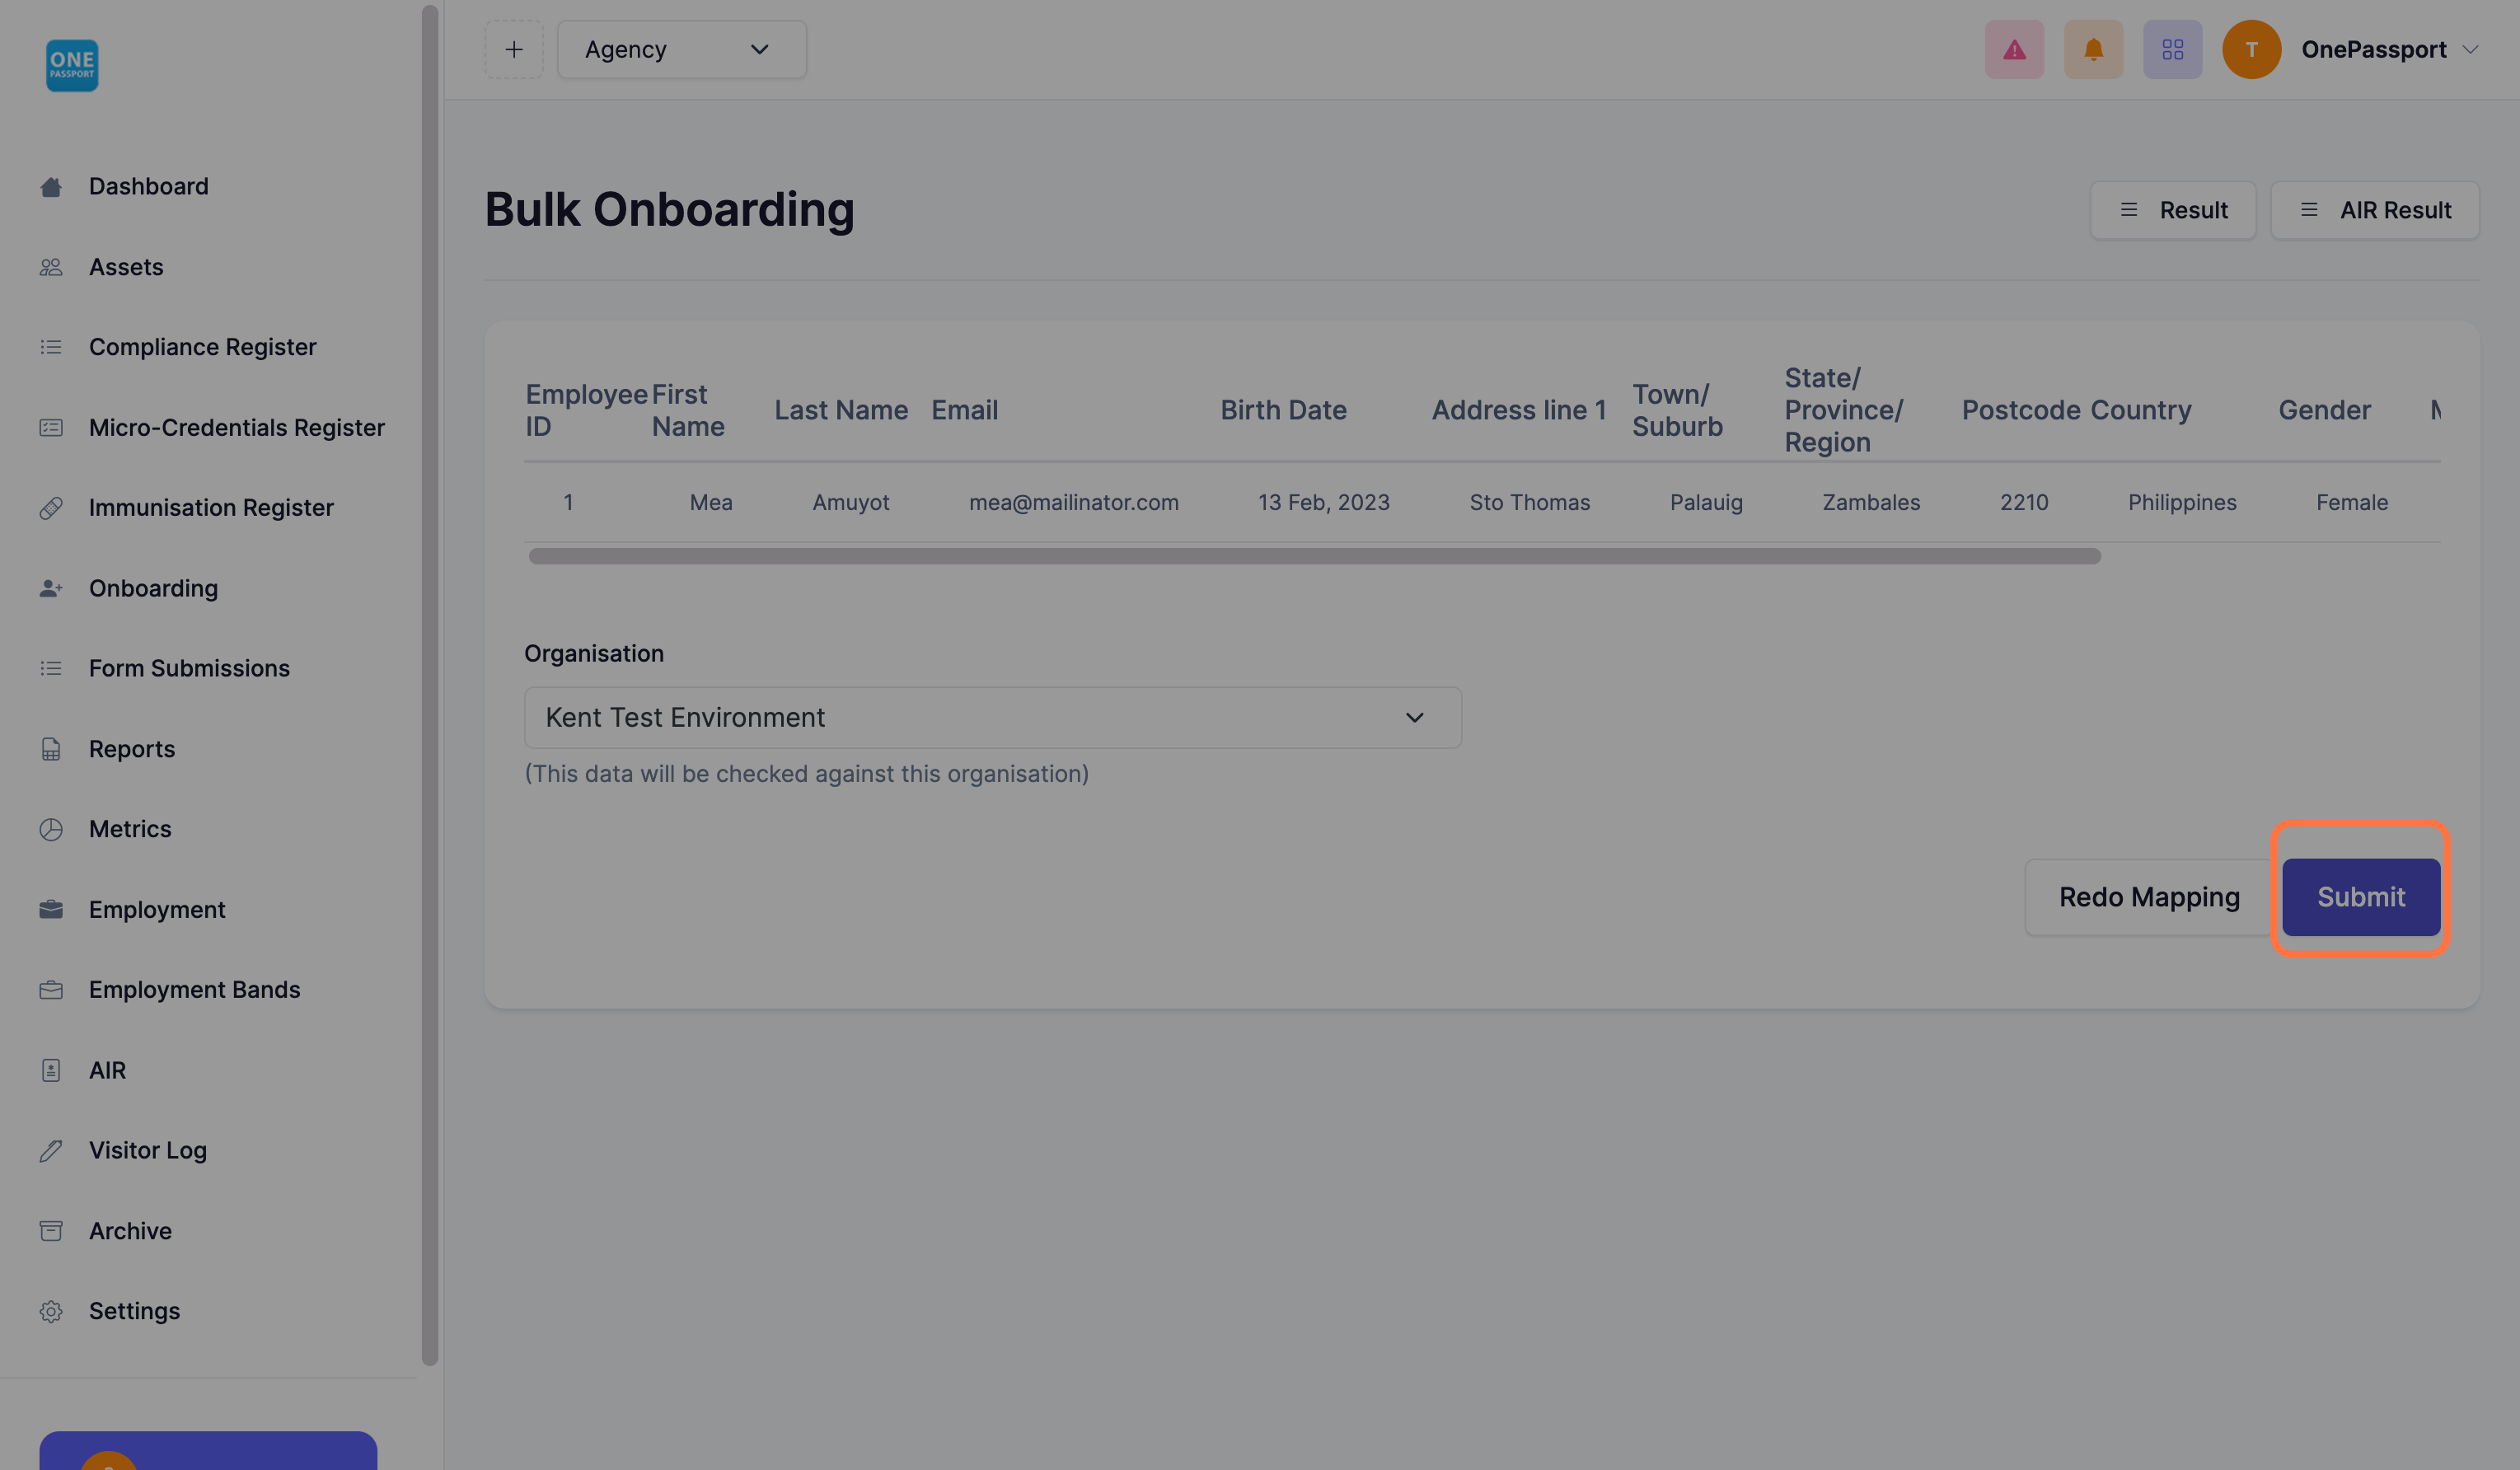
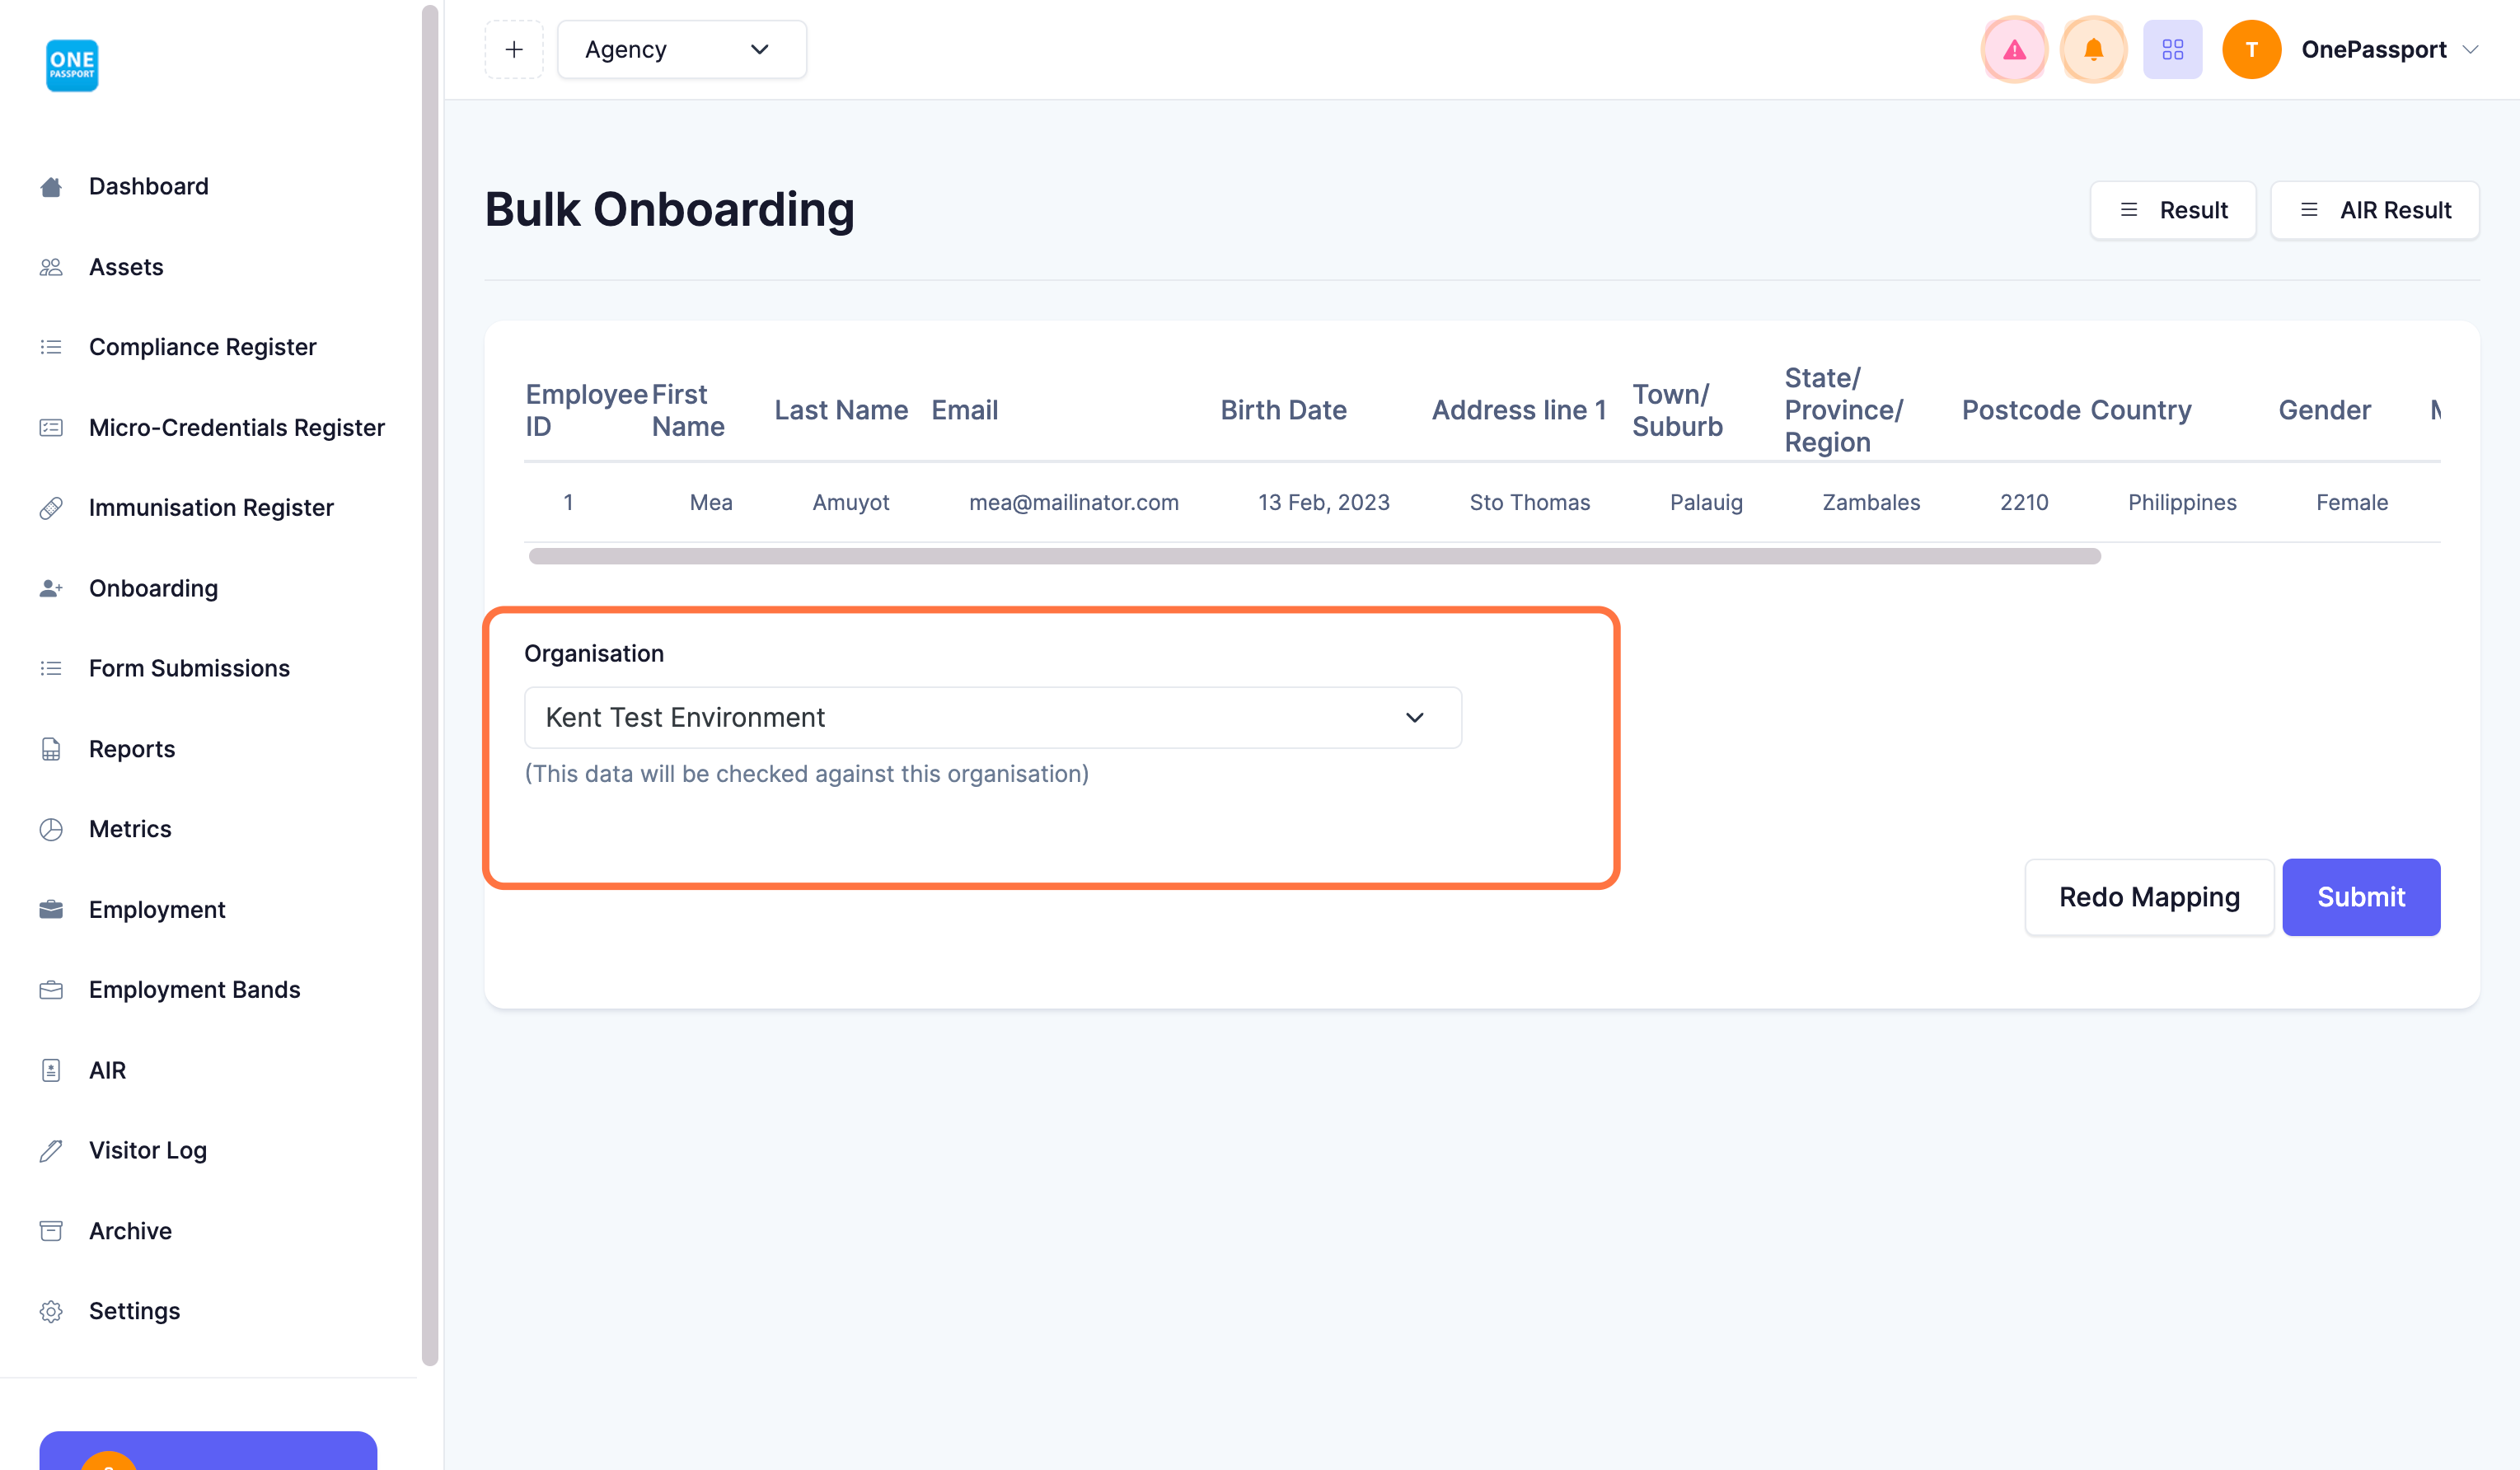
Step 8: Considering everything is okay with your spreadsheet, you need to verify in the Organisation field that the name of the organisation or branch where you wanted the list to appear is shown.
Likewise, you confirm the category and type of people. Should you have different types of people (department/person type) it is advised to select the "Use Type column based on the uploaded Excel.
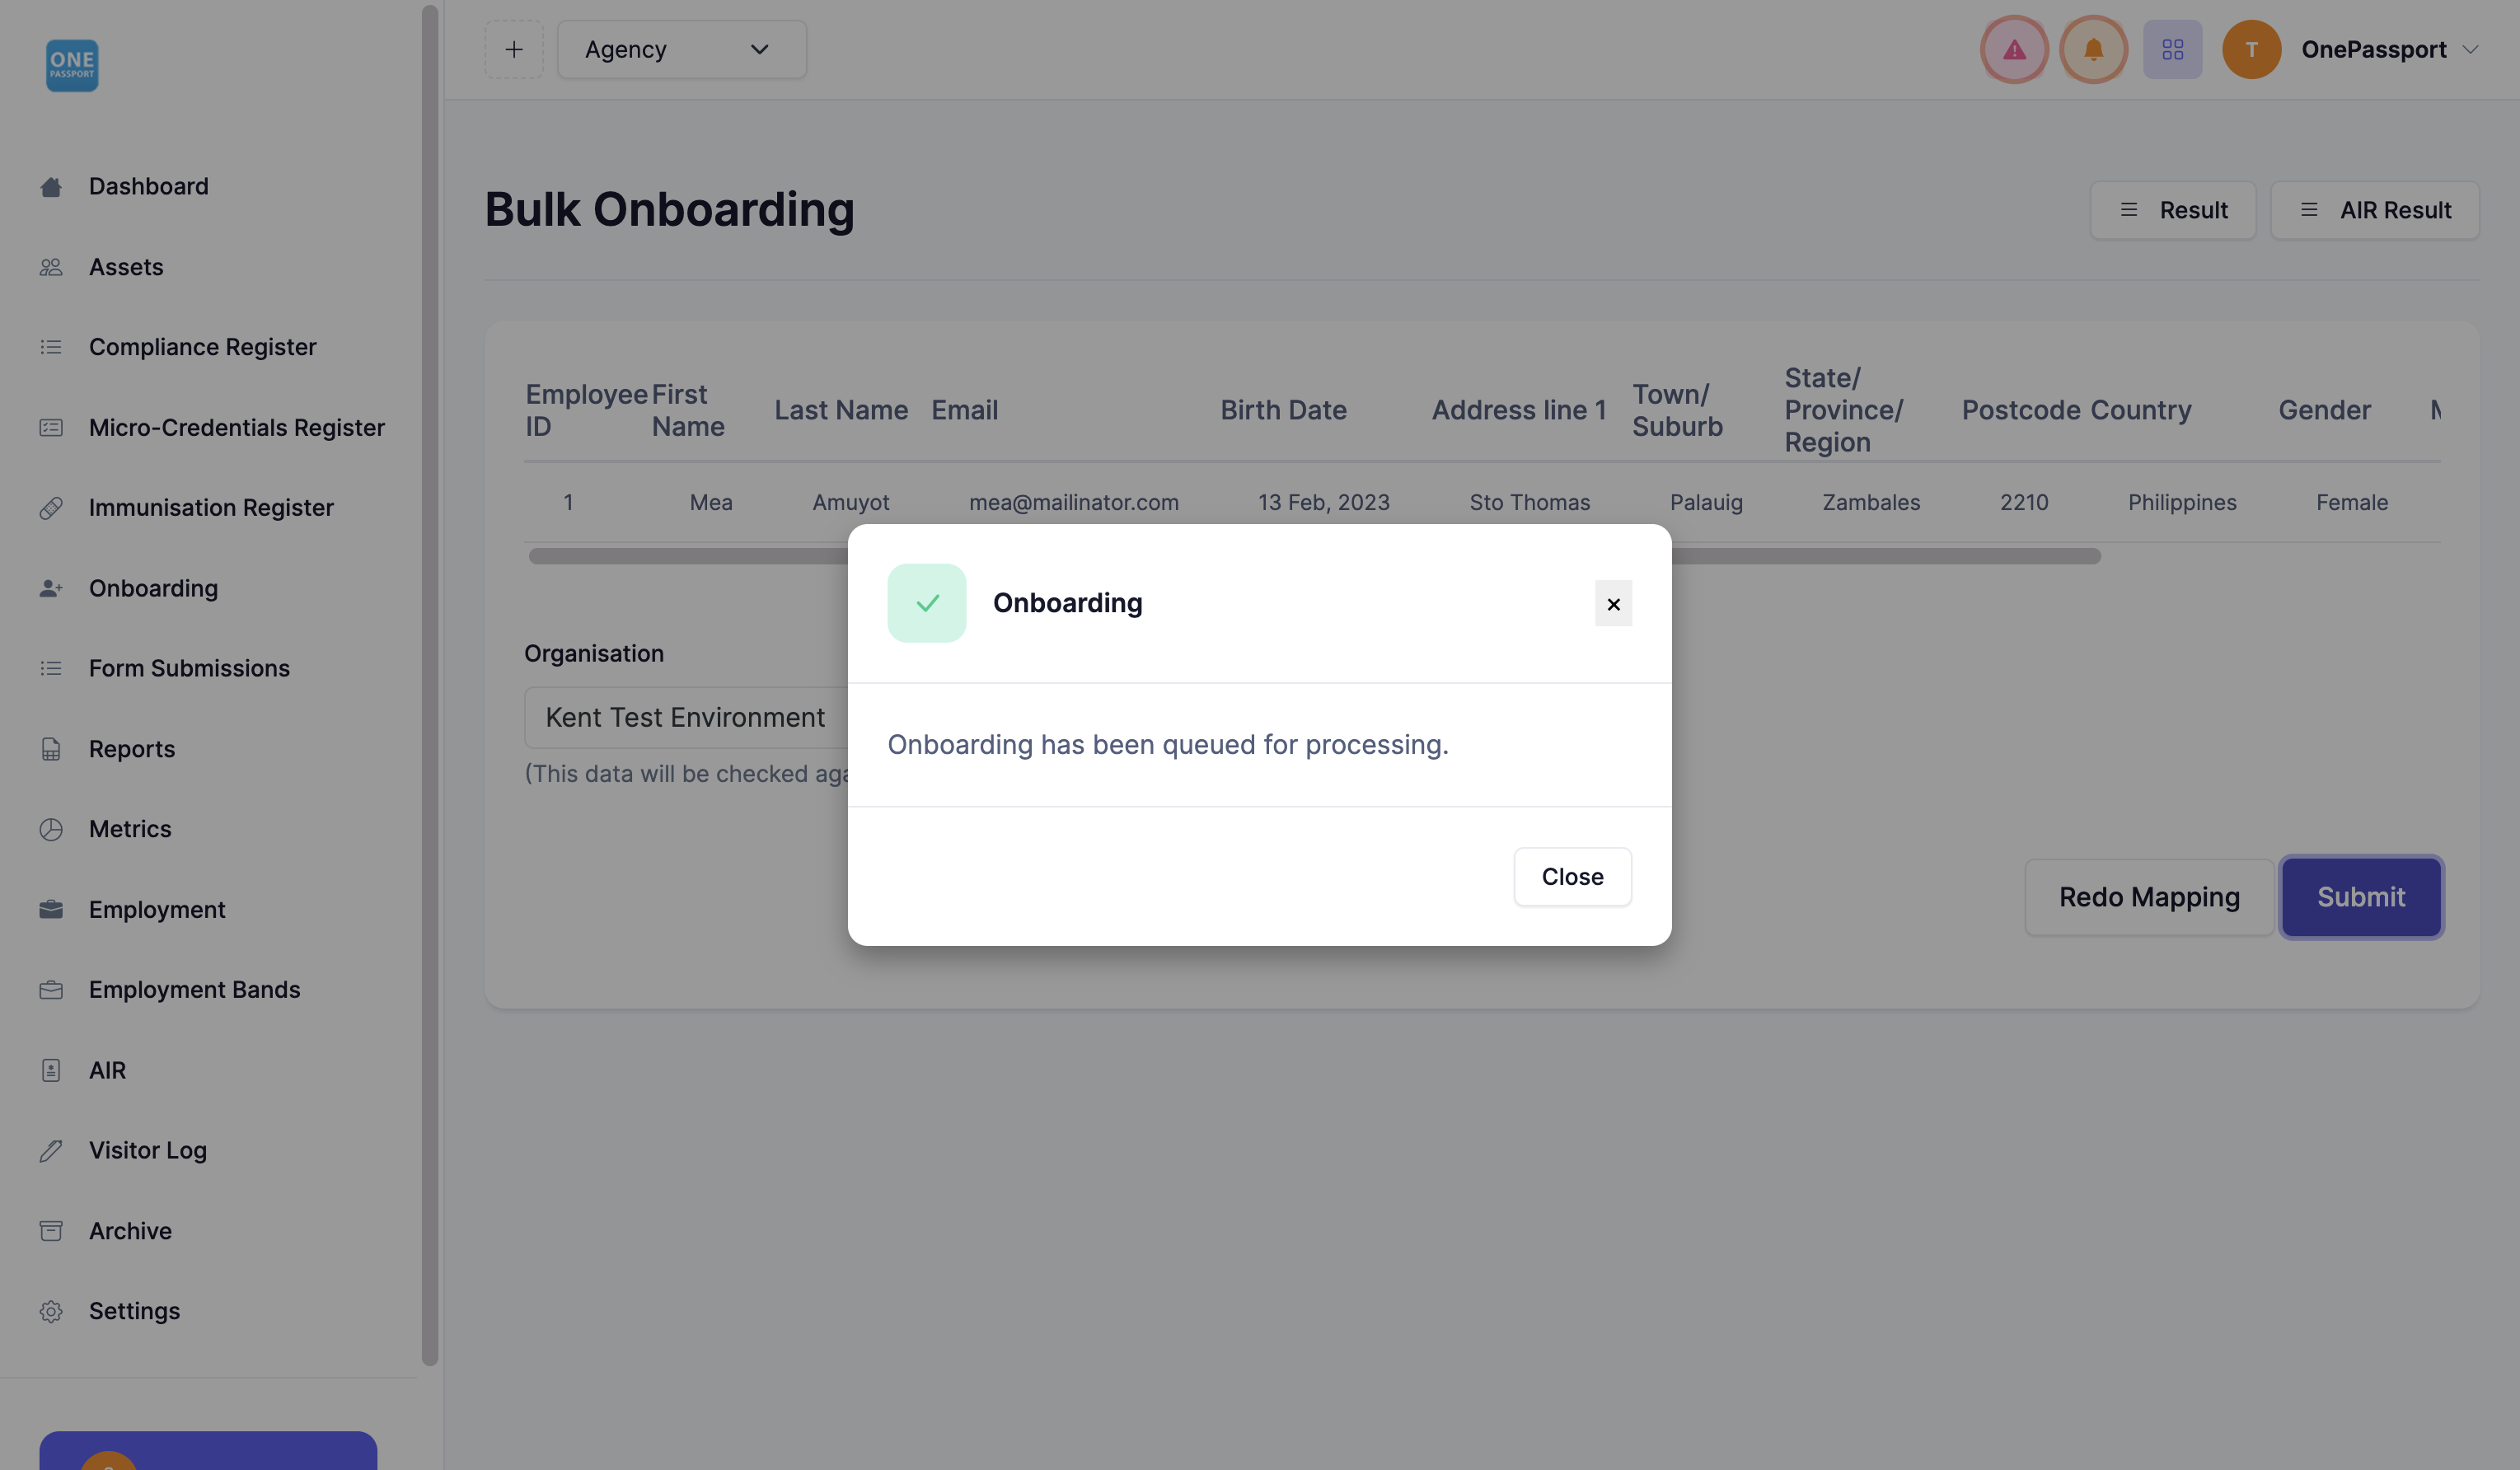
Step 9: After Clicking Submit, there's going to be a pop-up Message. Click on Close.
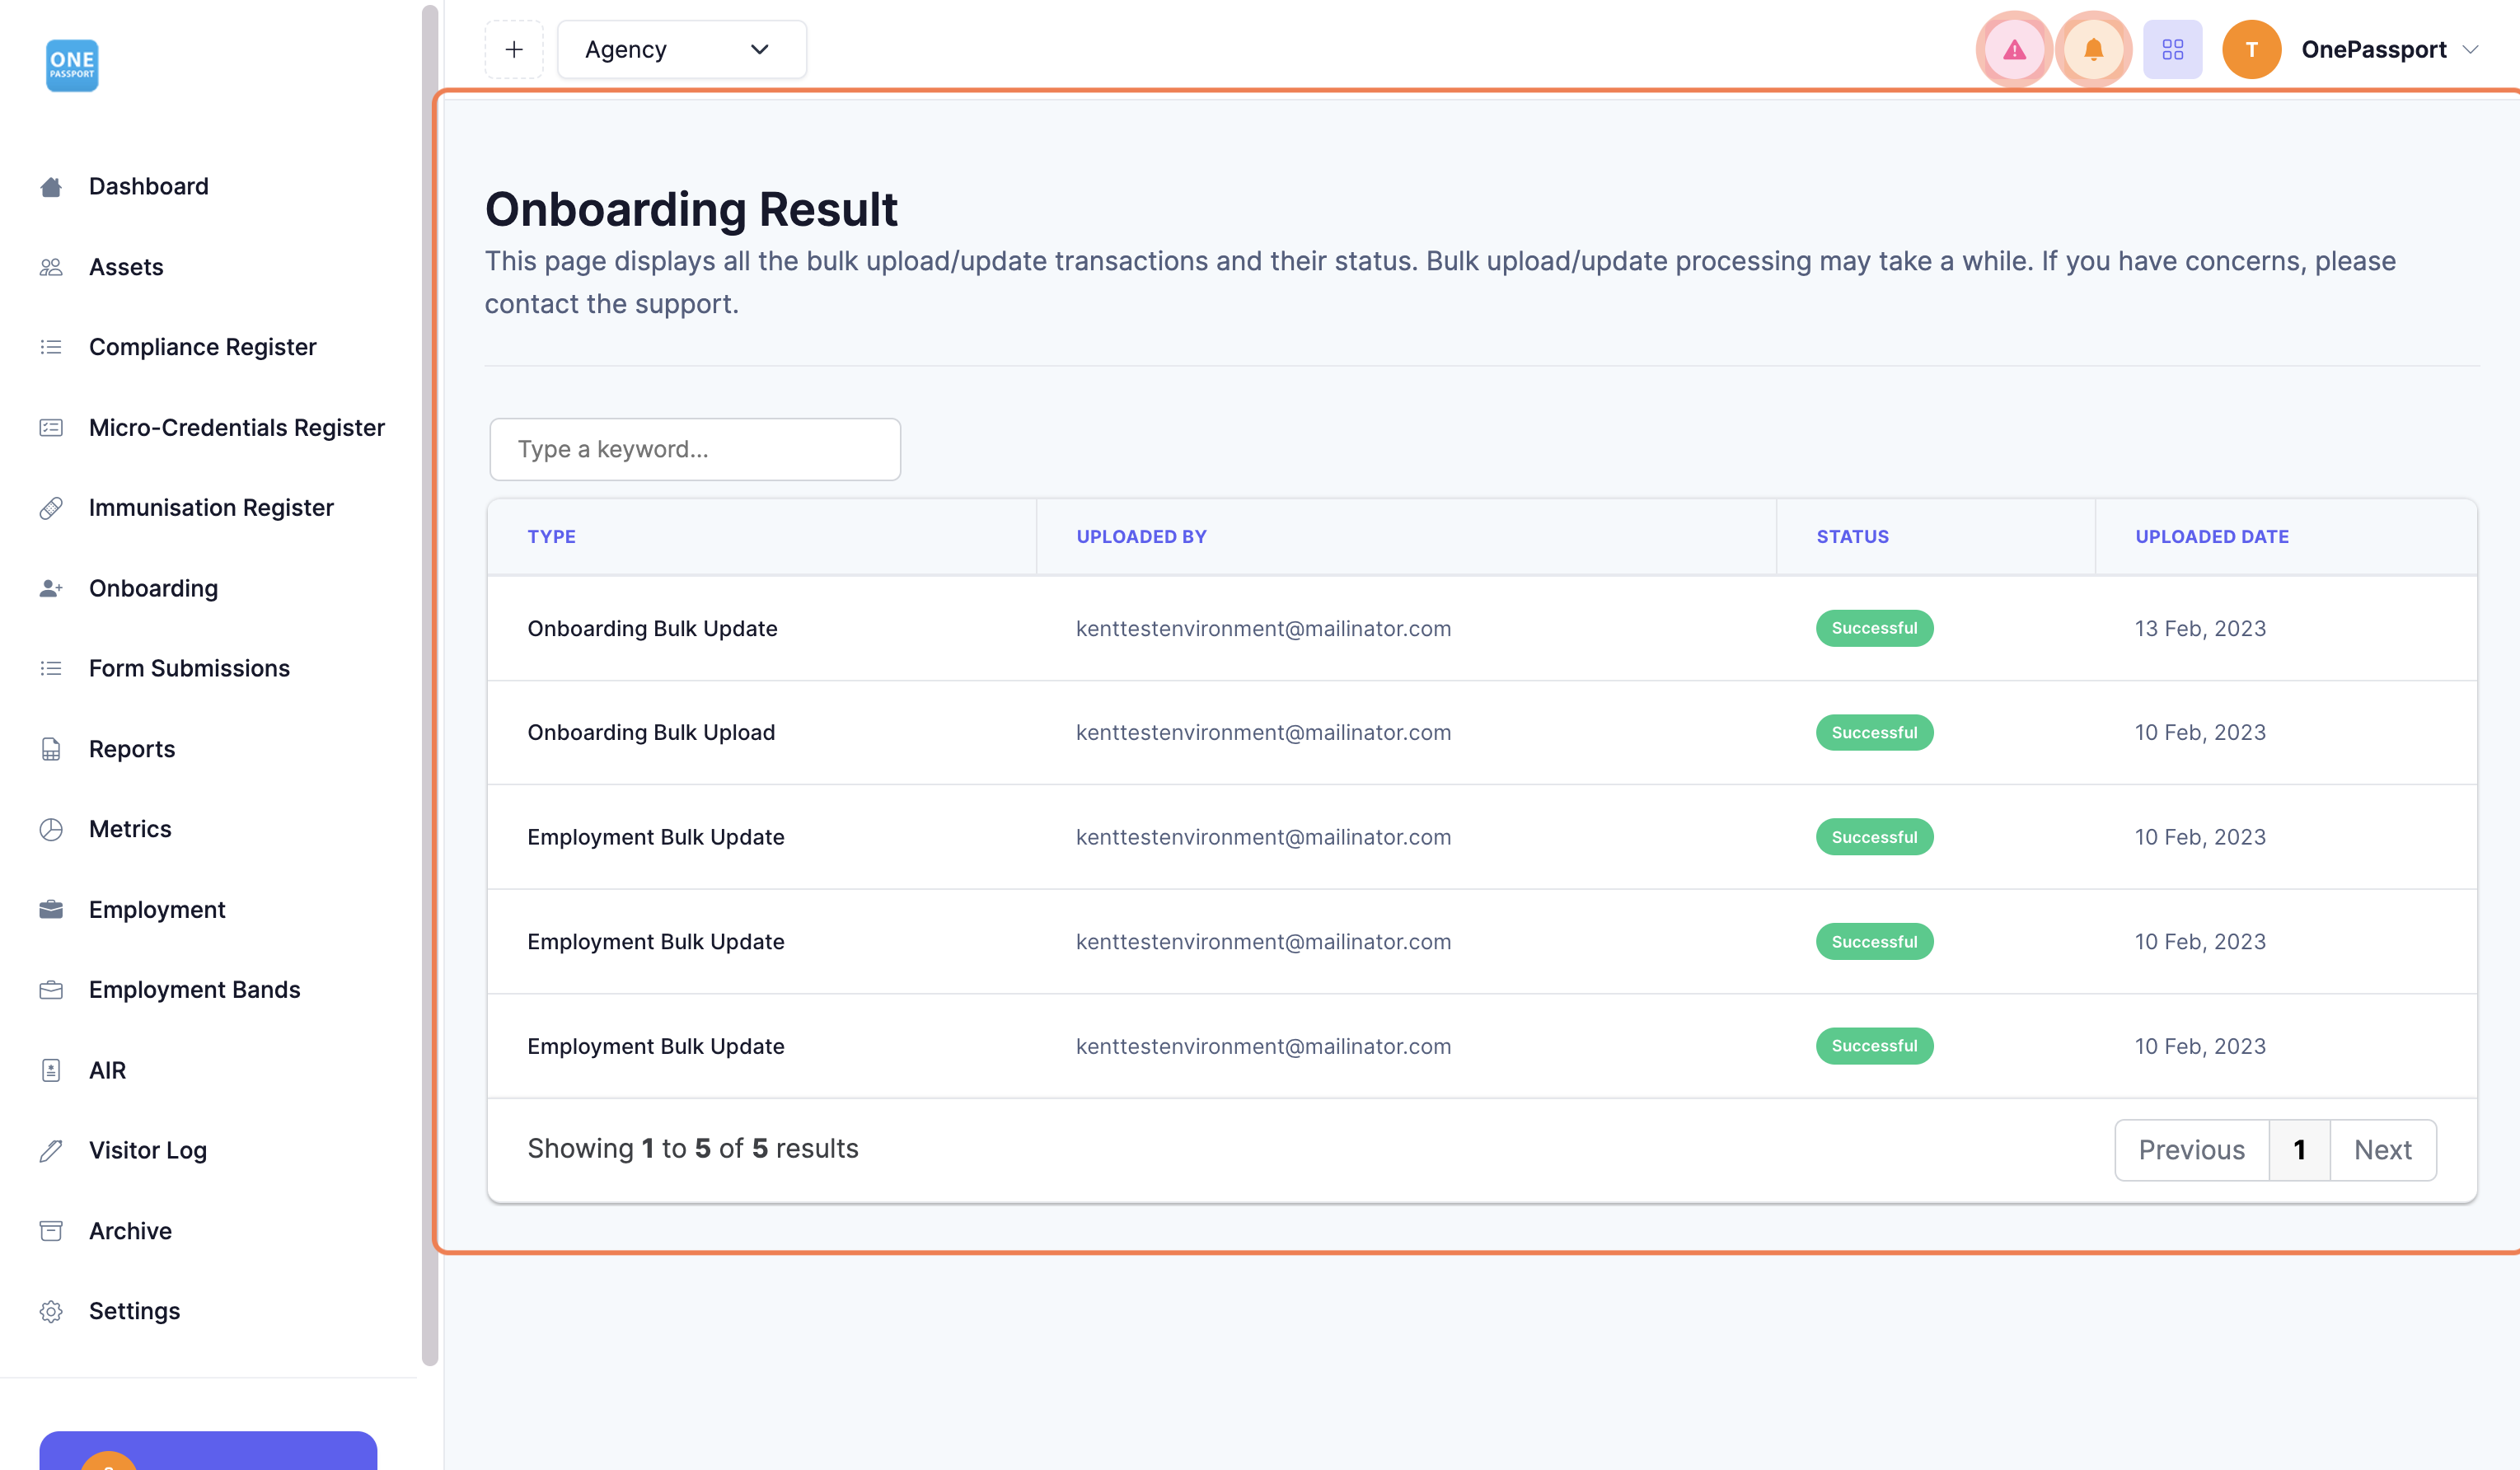
Here, you can check if the upload is successful or not.
Comments
0 comments
Please sign in to leave a comment.