IMPORTANT STEPS TO CONSIDER:
- Enter data onto your spreadsheet with the following headings: Email, Residency Type, Country, Working Hours, Expiry Date and Status (last 3 not required fields)
- System does not accept working hours that is beyond 100. Likewise for (-) sign before the number. Clean your data before uploading it.
- Expiry Date should be in the correct format: dd-mm-yyyy. This field is not required (especially for Citizens and people that are having Permanent Residency status); designed only for certain visa types that have expiry dates.
- Status label as (either Valid/Expired/Action Needed).
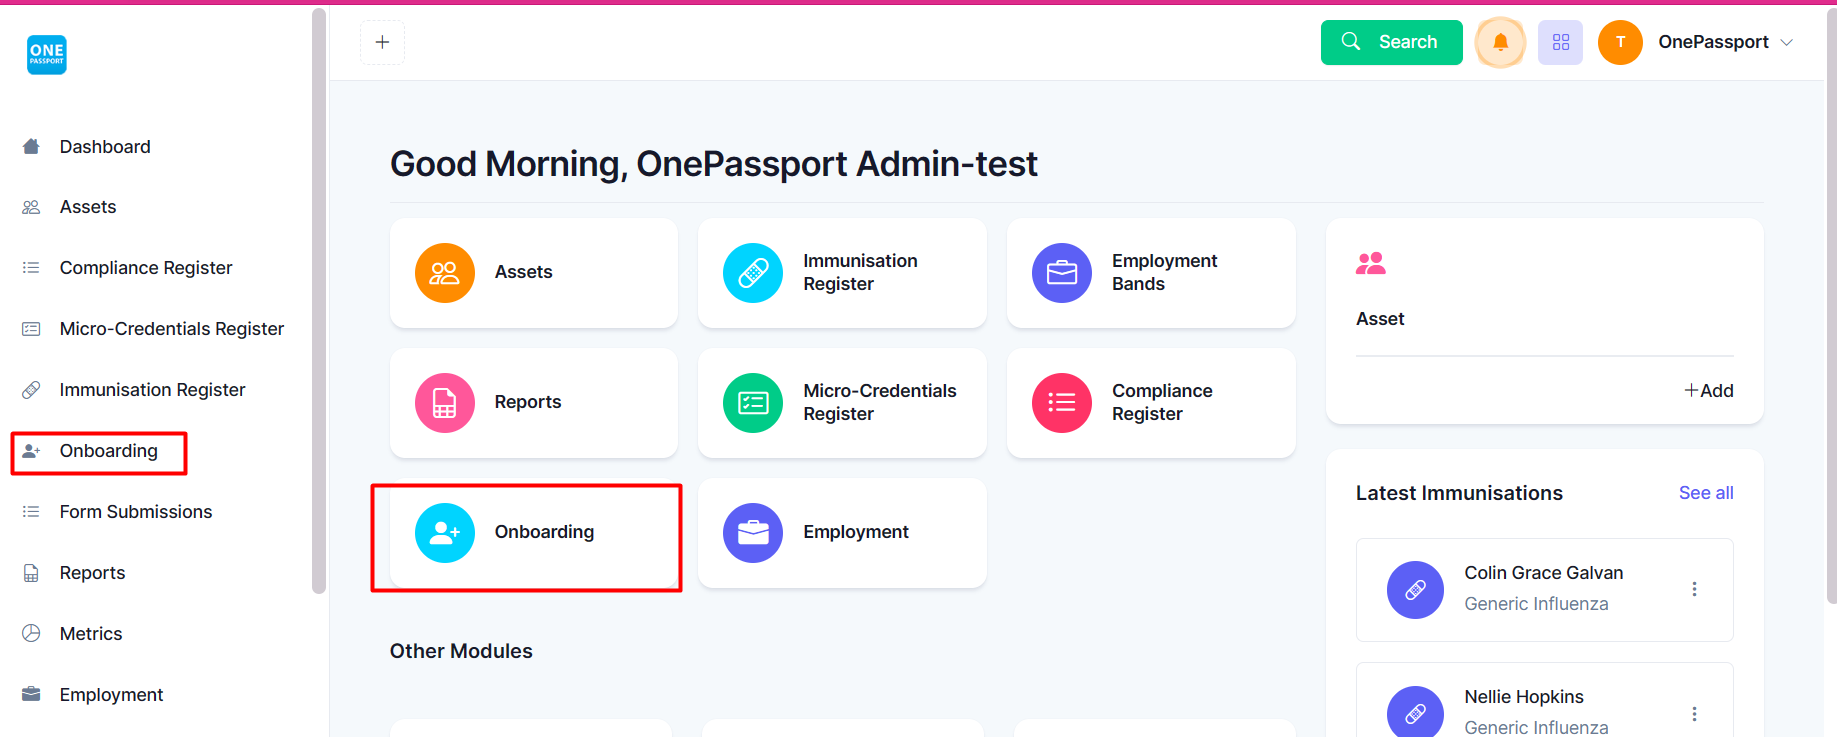
Step 1: Click Onboarding from the sidebar or the dashboard.
Step 2: Press Bulk Upload.
Step 3: Select Residency Bulk Upload from the drop-down.
Step 4: Upload your file and click Submit.
Step 5: You will then see this screen here. This is where you ‘Map’ the fields. A list of Headings will appear in 2 columns. Match the Excel header to the specific columns on the right.
Then, click the Submit button.
Step 6: The system will detect if there is any issue with the file uploaded. It will not allow you to proceed in the next steps in case there is a problem with the data you have entered. Usually, data with wrong input is presented in red boxes.
Correct this information first and press Submit once everything is good to upload.
Step 7: A pop-up message will appear confirming it has been queued for processing. Press Close.
Step 8: You will be redirected to the Onboarding Result page. You may check the Status here of your transaction. It should turn from Pending to Successful.
Step 9: Check each specific record entered by clicking through the transaction under the Type header. You will see a page like below.
Step 10: Check one to two staff’s Residency profiles to verify if the uploading is successful.
*A sample template is provided here for your reference.
Comments
0 comments
Please sign in to leave a comment.